An advance is a structured sheet for a single date that collects everything you need to confirm before a show: venue details, schedule times, production specs, key contacts, logistics, and deal points. Advances live on the Day Dashboard alongside events, hotels, and notes.
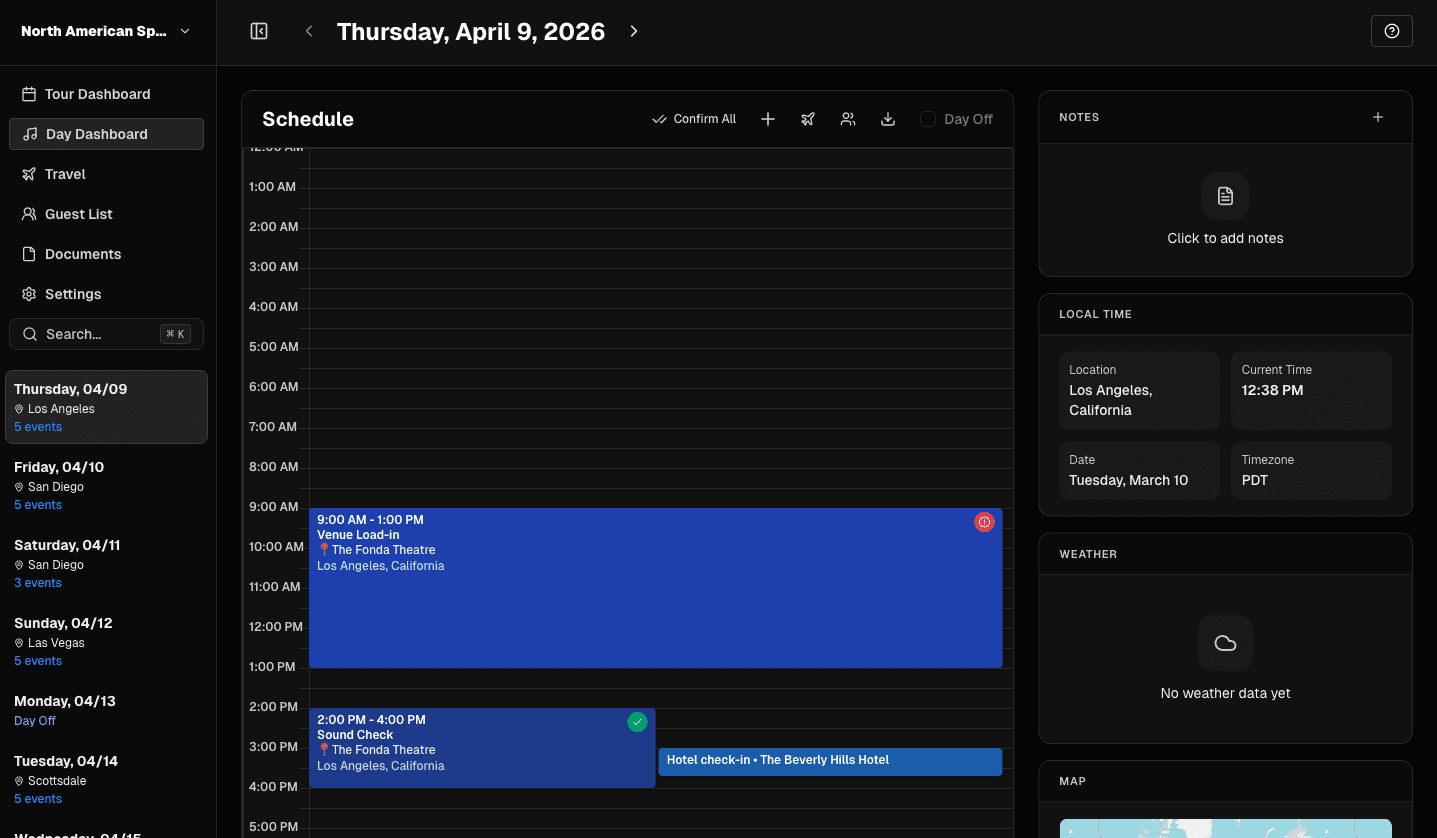 Advances appear on the Day Dashboard for each date.
Permissions
- View schedule — see advances and their status.
- Edit schedule — create advances, change fields, fill in values, and share them.
Two Modes
An advance has two working modes, toggled at the top of the editor:
- Design mode — decide which fields the sheet has. Add fields from the built-in library (venue, schedule, production, contacts, logistics, financial) or add custom fields and section headers.
- Advance mode — fill in the values for those fields as you confirm them with the venue.
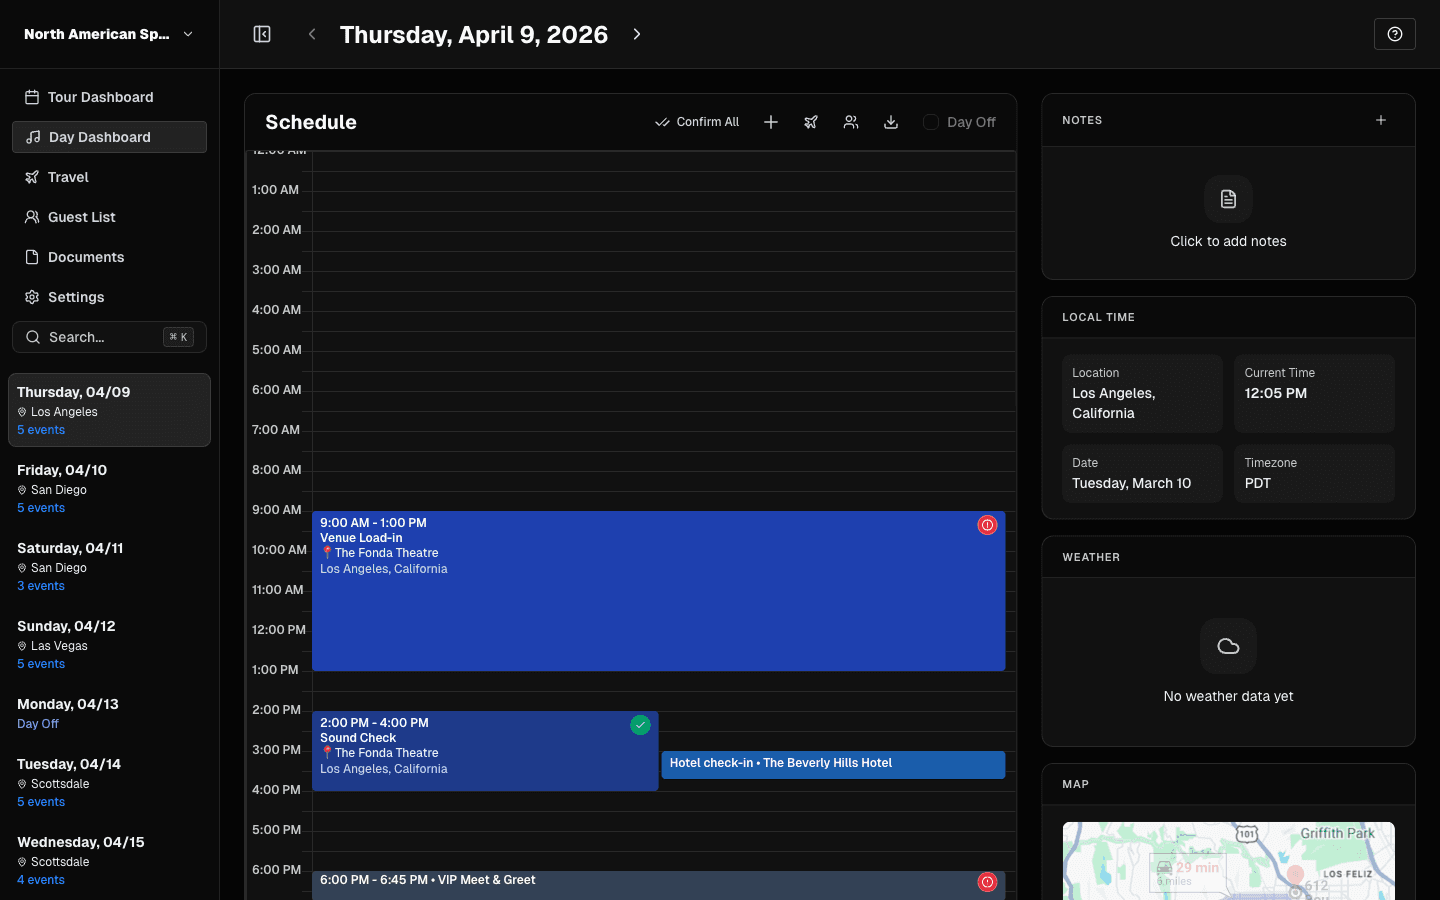 Design mode: pick fields from the library or add your own.
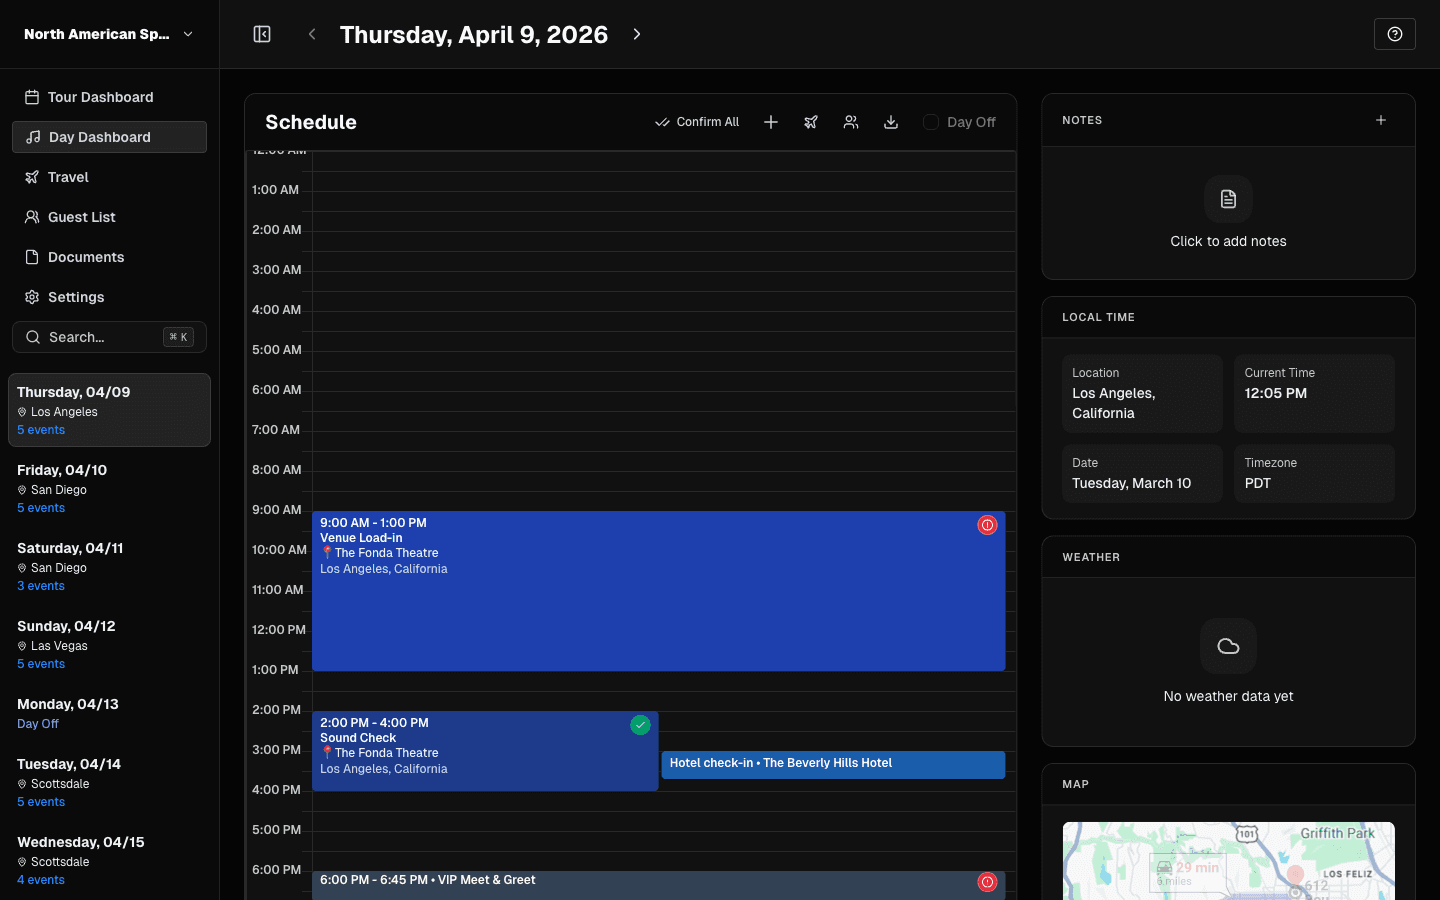 Advance mode: enter values as you confirm them.
Field Library
Fields are grouped by category. Common ones include:
| Category | Examples |
|---|---|
| Venue | Name, address, capacity, phone, website |
| Schedule | Load-in, soundcheck, doors, showtime, curfew |
| Production | Stage dimensions, PA, monitors, power, backline |
| Contacts | Promoter, production manager, and their phone numbers |
| Logistics | Parking / load-in, dressing rooms, catering, WiFi, merch, settlement |
| Financial | Guarantee, deal terms, deposit |
Use a Section Title field as a visual divider and a Custom Field for anything not covered.
Create an Advance
Open the day
From the Schedule sidebar, open the date that needs an advance.
Add the advance
In the Advances section of the Day Dashboard, click Add Advance and give it a title (for example the venue name).
Design the fields
In Design mode, add the fields you need. Save a set of fields you reuse often as a template so the next advance starts pre-built.
Fill it in
Switch to Advance mode and enter values as the venue confirms them.
Status Tracking
Each advance has a status: Not started, In progress, or Done. The Schedule view rolls these up into a status summary so you can see at a glance which shows still need advancing.
Templates
Save a designed set of fields as a template from the editor, then apply it when creating a new advance. Manage templates from the Advances area — create, rename, and delete.
Share With a Venue or Promoter
Open the advance and choose Share
Enter the recipient’s email address.
TourPro sends a secure link
The recipient gets a link to a public form — no TourPro account required.
They fill in their side
The recipient can complete fields and set the status. Their entries flow straight back into your advance.
Share links expire. Re-share if a recipient needs access again, and always review what they submitted before relying on it for day sheets.
Advances on Day Sheets
Advance fields can be included in Day Sheets and Export packets, so confirmed details reach the crew in the same document as the schedule.