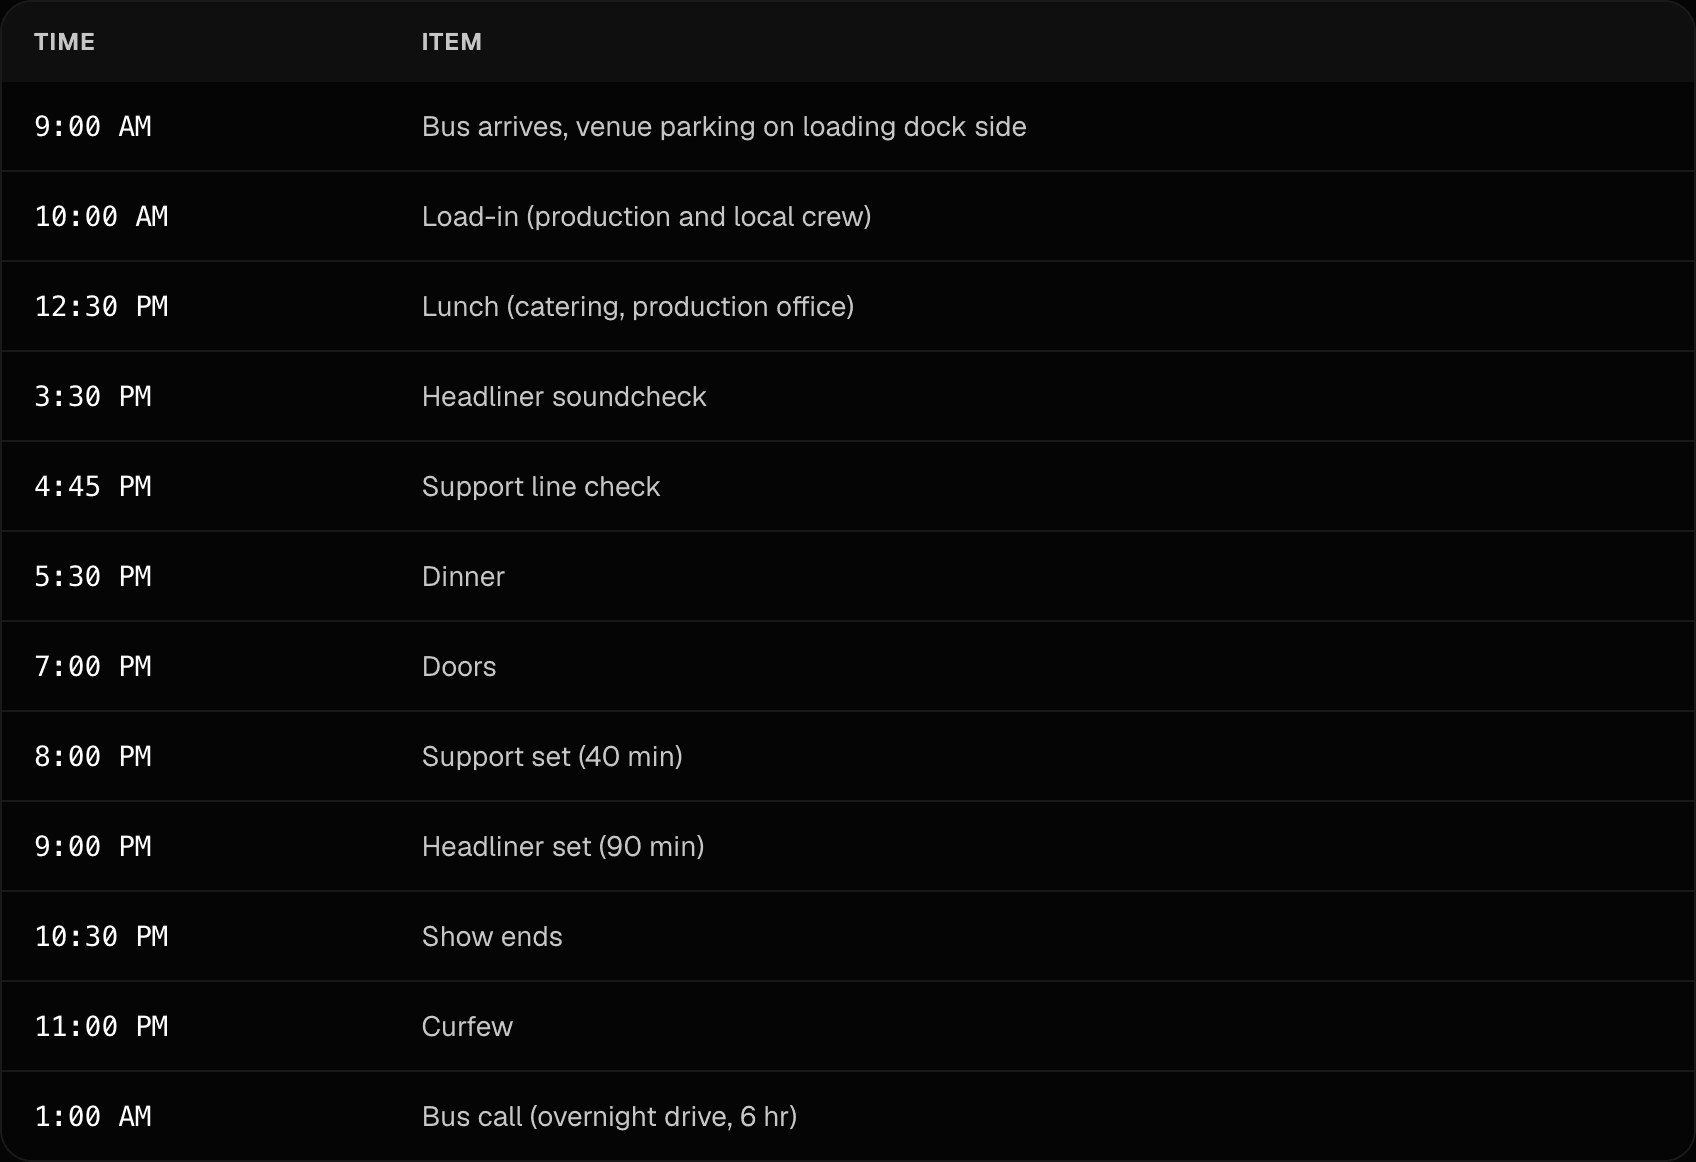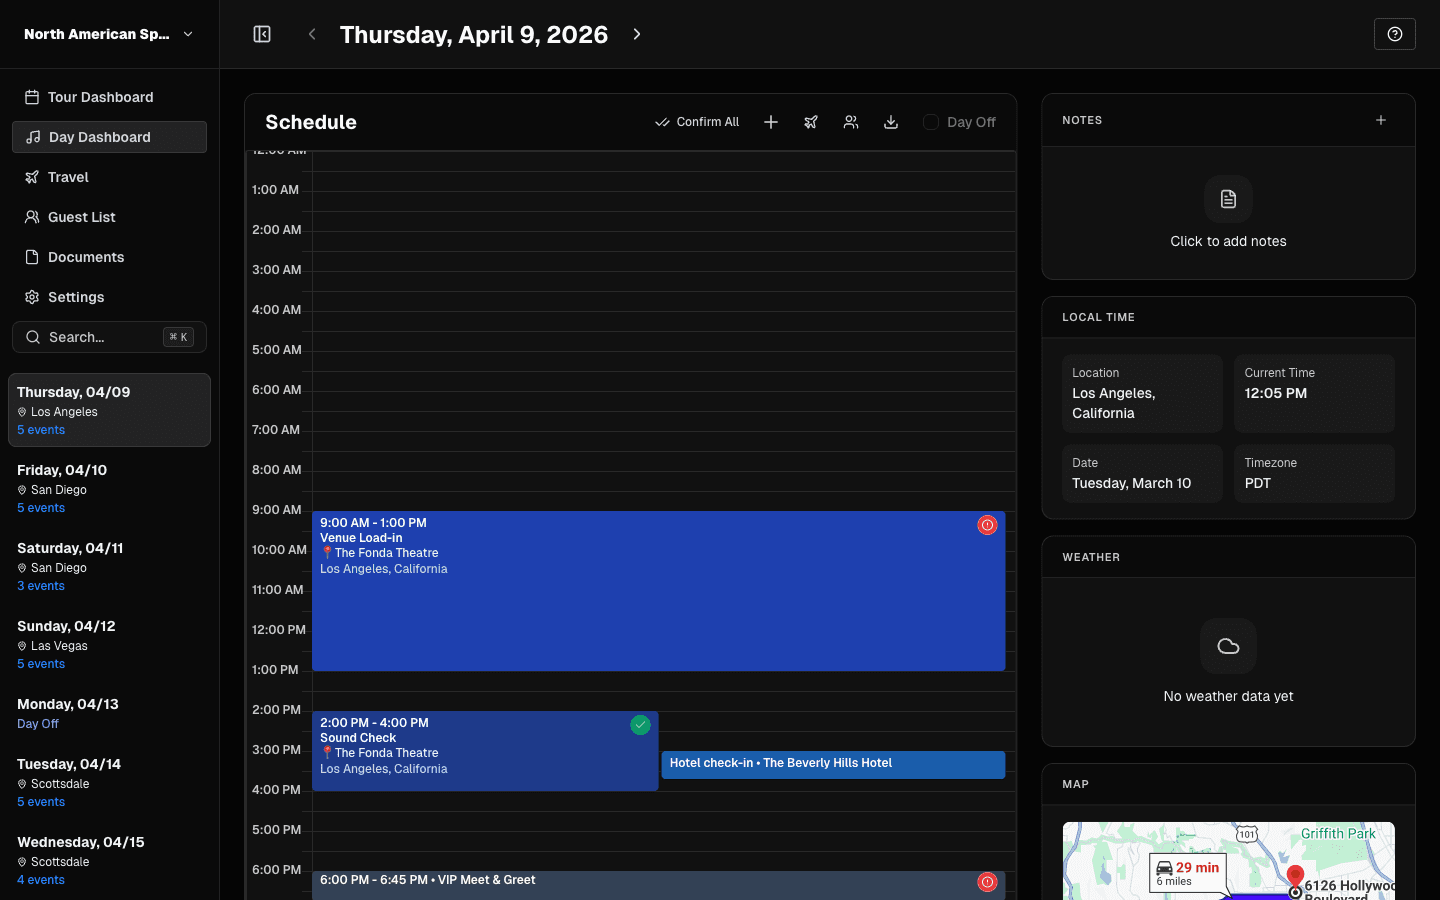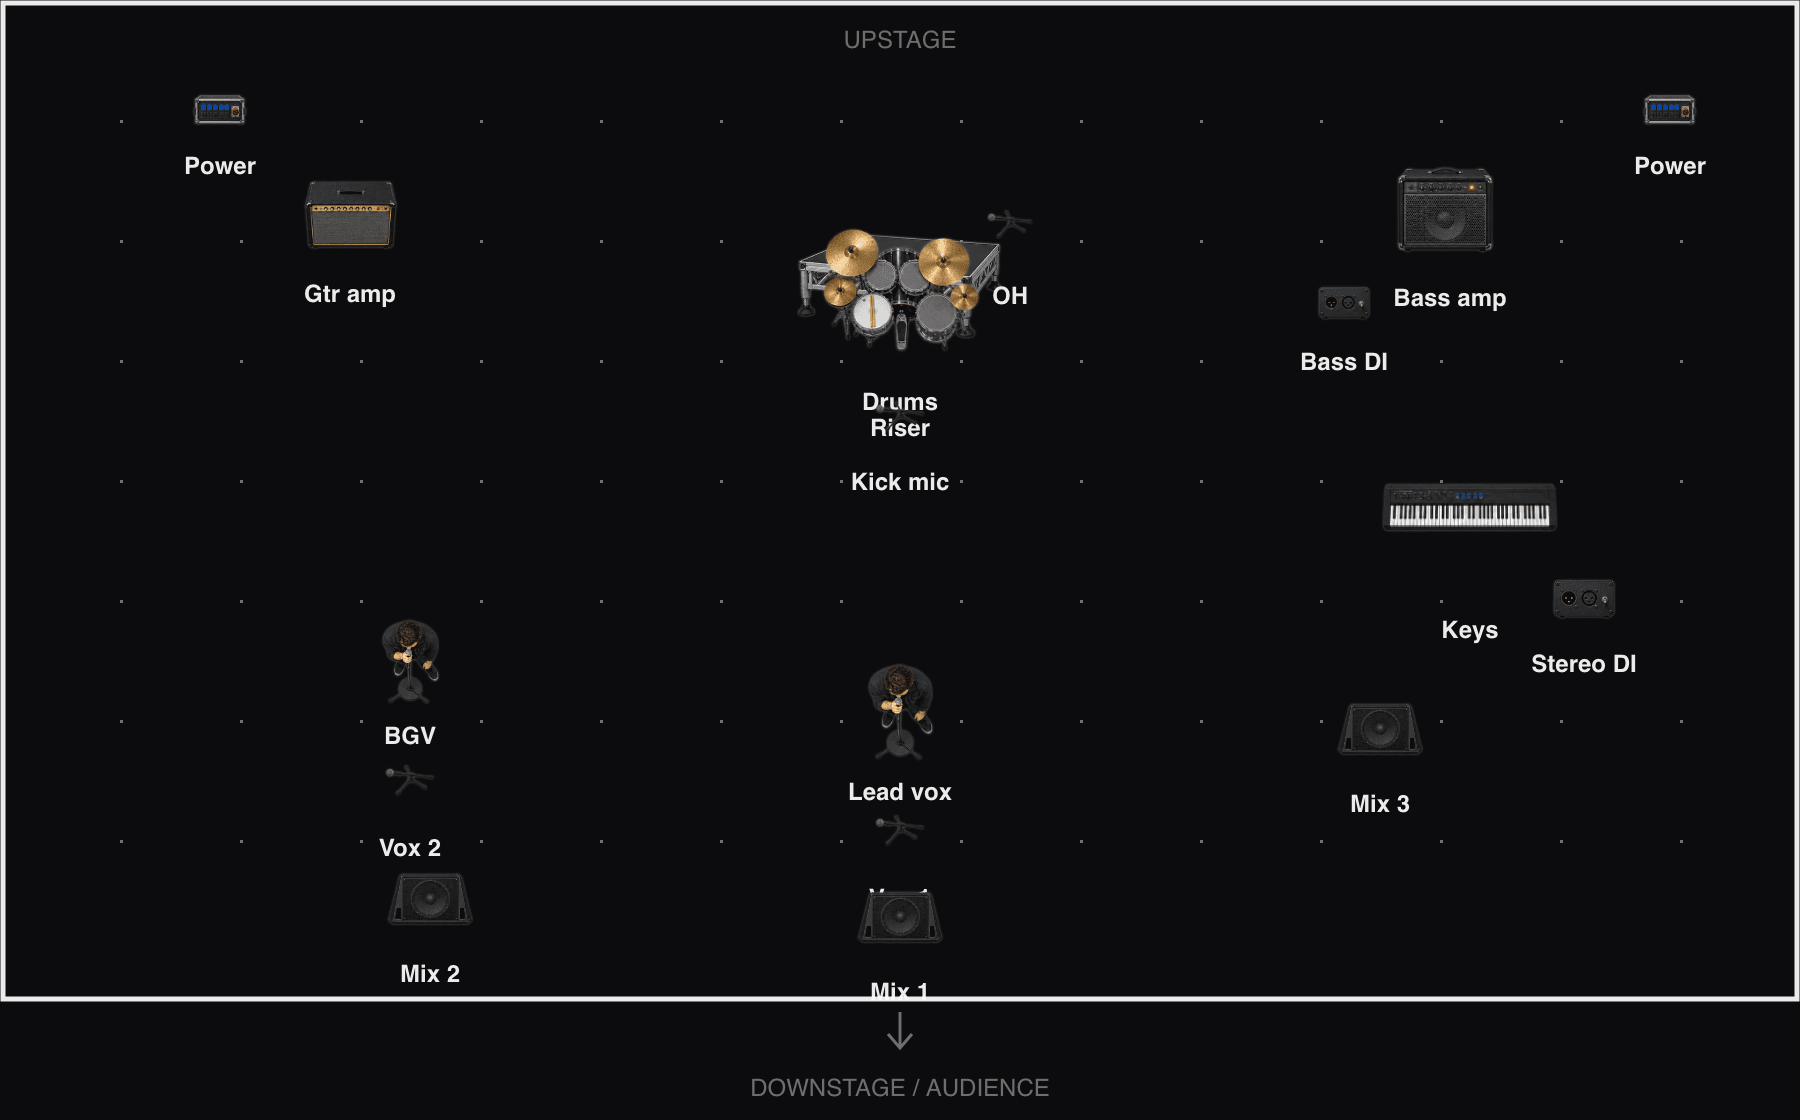
A stage plot is a top-down diagram that tells the venue and the audio engineer where everyone and everything stands before load-in: inputs, backline, monitors, risers, and power. Paired with an input list, it is the difference between a stage that is patched and line-checked before you arrive and an hour of re-patching while doors wait. Here is how to make one that venues actually use. Need to draw one now? Use the free online stage plot maker to arrange your gear and export a PNG or PDF.
What a Stage Plot Is (and Is Not)
The stage plot is the map: who stands where, where the amps, drums, monitors, microphones, and DI boxes go, and where you need power. It is not the input list. The input list is the channel patch: what each input is, which mic or DI it uses, and what stand it needs. Most engineers want both on a single page or in a single PDF.
If the venue reads only one thing from your advance, it is this page.
What Every Stage Plot Needs
Before you draw anything, this is the checklist:
- Header block: artist name, date, venue, stage dimensions, a contact for whoever is advancing the show, and a revision date so stale plots get caught
- Musician positions labeled by name or role, including lead and backing vocals
- Every mic and DI, numbered to match the input list
- Backline: guitar, bass, and keyboard amps; the drum kit layout if the drummer carries one; pedalboards and odd instruments
- Monitors: wedge count and position per musician, IEM packs, sidefills or drum fills, plus the total mix count
- Power: where you need drops or quad boxes
- Risers and slow items: drum risers, keyboard stands, anything that takes setup time
Step 1: Place the Lineup
Start with people, not gear. Draw the stage the way the audience sees it: the downstage edge (the crowd side) at the bottom of the page, upstage at the top, and stage left and stage right from the performer's point of view facing the house. Mark where each musician stands: lead vocal downstage center, drummer upstage, everyone else relative to them. Label each position with a name or role so the engineer can talk about "the keys wedge" instead of guessing.
Step 2: Place Backline and Drums
Amps go behind or beside the player who uses them, drums upstage center unless the stage shape says otherwise. If the drummer carries a kit, mark the pieces: kick, snare, toms, cymbal positions. If you are using house backline, say so in a note on the plot instead of drawing gear you will not bring.
Step 3: Number Every Input
Each mic and DI gets a channel number, in order, matching the input list exactly. Engineers patch from the numbers, not from the drawing, so a plot whose numbers do not match the list is worse than no plot.
Step 4: Mark Mic Stands
Next to each vocal and instrument mic, note the stand: tall boom, short boom, straight, or clip-on. This is what determines what the venue stages before you arrive, and it is the detail most homemade plots skip.
Step 5: Mark Monitors
One wedge symbol per monitor position with the mix name or number. Mark IEM packs and hardwired positions, sidefills or a drum fill if you carry them. If the drummer is on IEMs but the band is on wedges, that belongs on the plot.
Step 6: Mark Power
Show where you need power drops or quad boxes: typically backline upstage and a drop downstage for pedals and vocal effects. Unusual needs (a lot of synths, a laptop rig, lighting you carry) get a note.
Step 7: Fill In the Header
Artist name, date, venue, and stage size go in a header block on the page, plus the name and contact of the person advancing. When a house engineer has a question at 10 AM on show day, this is how they reach someone who can answer.
Step 8: Attach the Input List
The input list goes on the same page or in the same PDF, in channel order. A typical small-band list:
| CH | Source | Mic/DI | Stand | Notes |
|---|---|---|---|---|
| 1 | Kick | Beta 52 | Short boom | |
| 2 | Snare | SM57 | Short boom | |
| 3 | Bass | DI | - | Take DI post-EQ |
| 4 | Guitar | SM57 | Short boom | |
| 5-6 | Keys L/R | Stereo DI | - | 48V |
| 7 | Lead vox | SM58 | Tall boom | Center |
| 8 | BGV | SM58 | Tall boom |
Mark which mics and DIs the band carries and which the house provides, either as a column or a per-row note, so nobody chases gear on show day. For a longer example you can copy, see our free stage plot template.
Three Ways to Draw It
- By hand: sketch the stage top-down and photograph it. A legible hand drawing beats a pretty diagram with missing inputs.
- A slide or drawing app: works, but aligning icons and keeping versions current gets fiddly fast.
- A dedicated maker: our free stage plot maker runs in the browser. Drag mics, DIs, amps, wedges, and risers into place, tap to rename or rotate, and export a clean PNG or PDF. No account, no watermark over the diagram, and it autosaves to your device so you can come back and edit.
Mistakes That Get Stage Plots Ignored
- Numbers that do not match the input list. Recheck them every time gear or personnel changes.
- A stale plot. Re-export when the lineup changes, even between legs of the same tour.
- No contact info. The engineer cannot ask questions of a page with no name on it.
- Missing monitors and power. These change what the venue stages, not just what it patches.
- Plot without the input list. Send them together, always.
Keep It With the Advance
The stage plot goes out with the technical rider when the date is booked, and again with the advance, usually two to three weeks before the date. In TourPro the plot lives inside the advance for each show date, so the venue, the engineer, and your own crew all read the same document instead of hunting through email threads. See advances in TourPro and our guide on how to advance a show.
For the terms used here, see the tour management glossary.